An auto responder is convenient for when you eg. want to send an automatic confirmation-of-receipt notice to those email you. It can also be used to send notice when you are unable to reply to email for sometime.
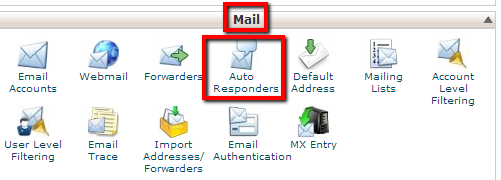
1. Scroll down to the Mail section and click on the Auto Responders icon.

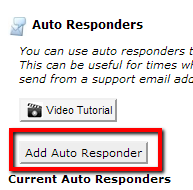
2. Click on the Add Auto Responder button when you are directed to a new page.

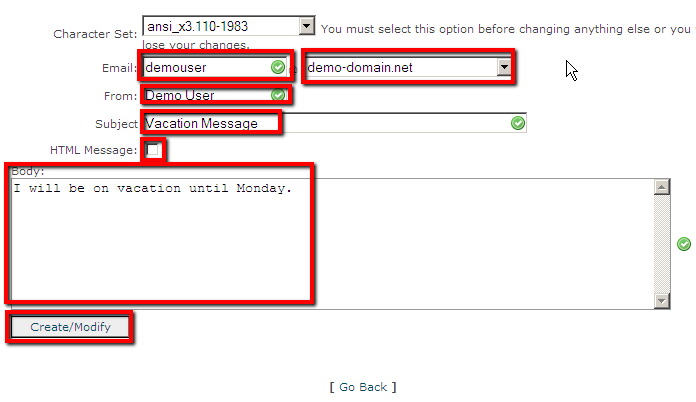
3. Enter the email for which you want to create an auto-responder, choose a domain for which to set up the auto responder.
Enter the From information. This will typically be the name of email account holder.
You can enter a new subject in the subject field. Leaving the field blank will make your auto responses use the same subject entered by the respondee.
To send an HTML formatted email, select the checkbox. Leaving the box unselected will send the email as plain text.
Enter the body of your auto-response. When you are done with the body, click the create/modify button.
Once you are done, you will be directed to another page. And that’s it!
